
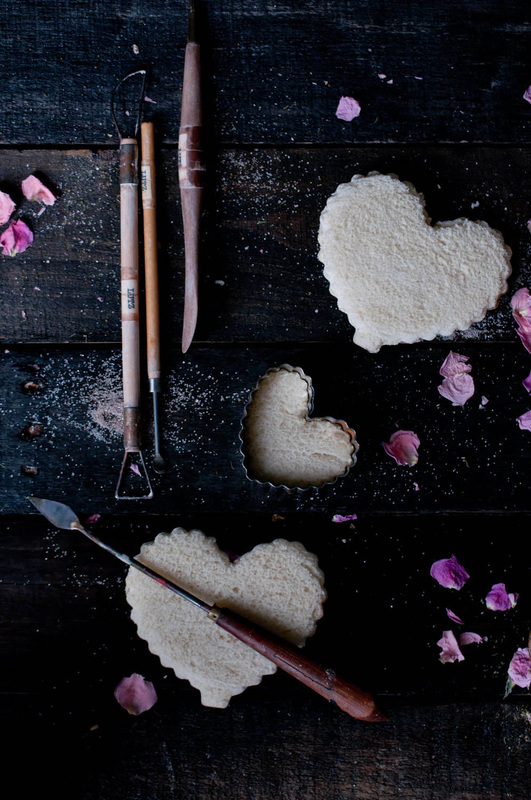
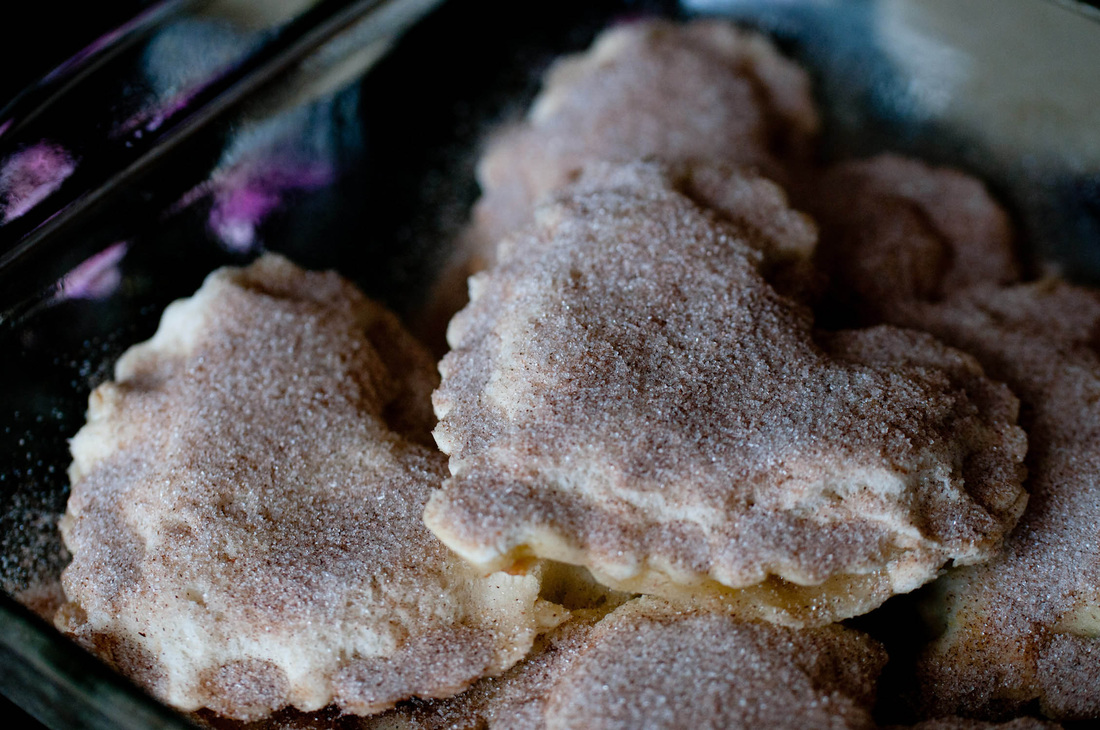
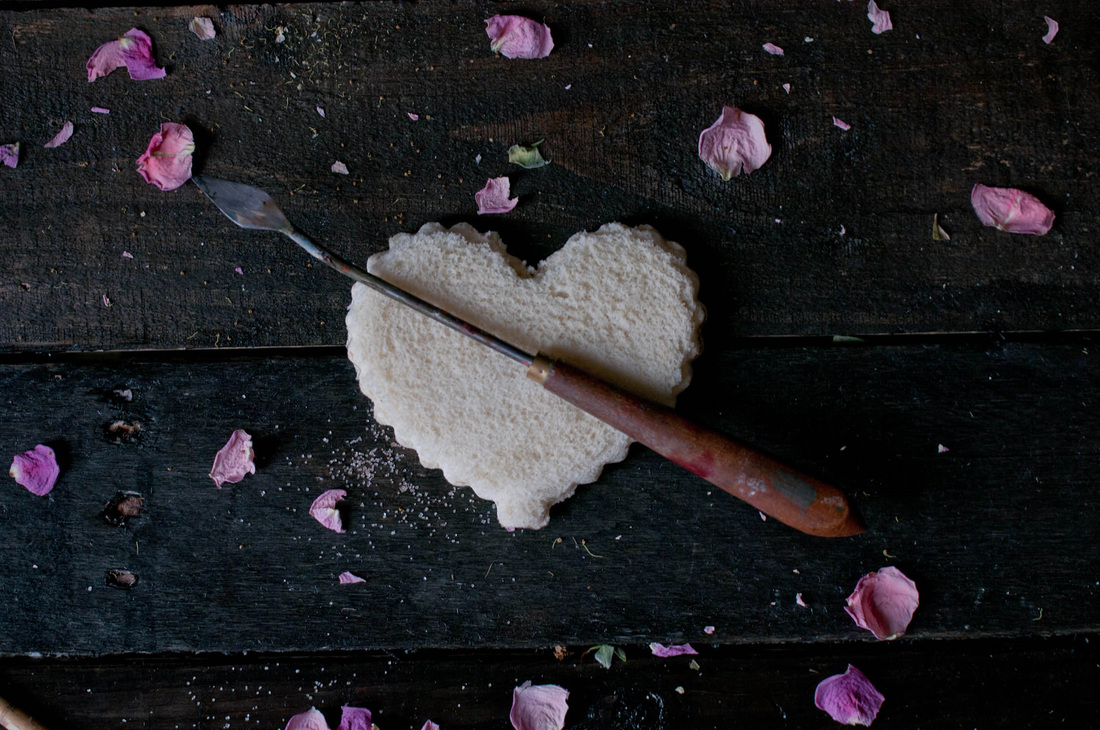
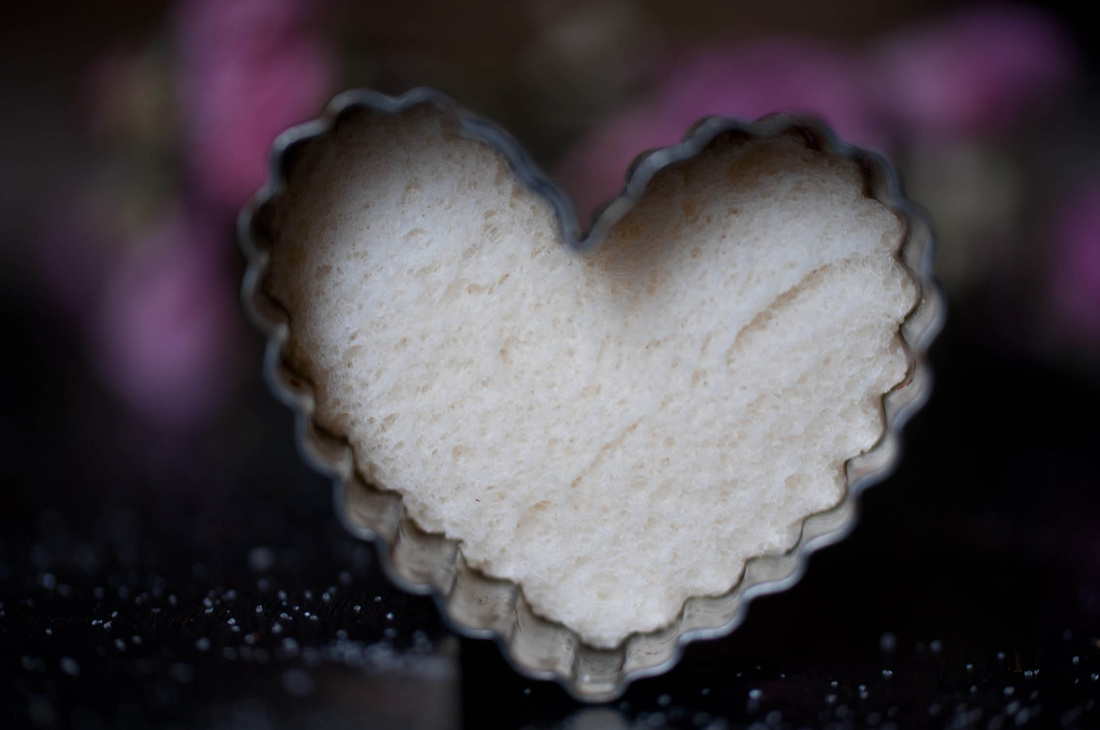
 When I was very young my Mom would take the time on cold, snowy mornings to get out a simple loaf of bread, lay several pieces on a cookie sheet, and bake it with butter, sugar and cinnamon. It was such a simple act, but I am reminded of her toast anytime I smell cinnamon and sugar baking. Though, she did not have time on school days to cut the bread into heart-shaped Valentine's like I did today, I smiled inside remembering those breakfasts, and so I decided it might be fun to take the cinnamon toast idea and incorporate it into a spoon bread recipe. Here is the result, and below is the recipe. Happy Valentine's Day! Cinnamon Toast Spoon Bread 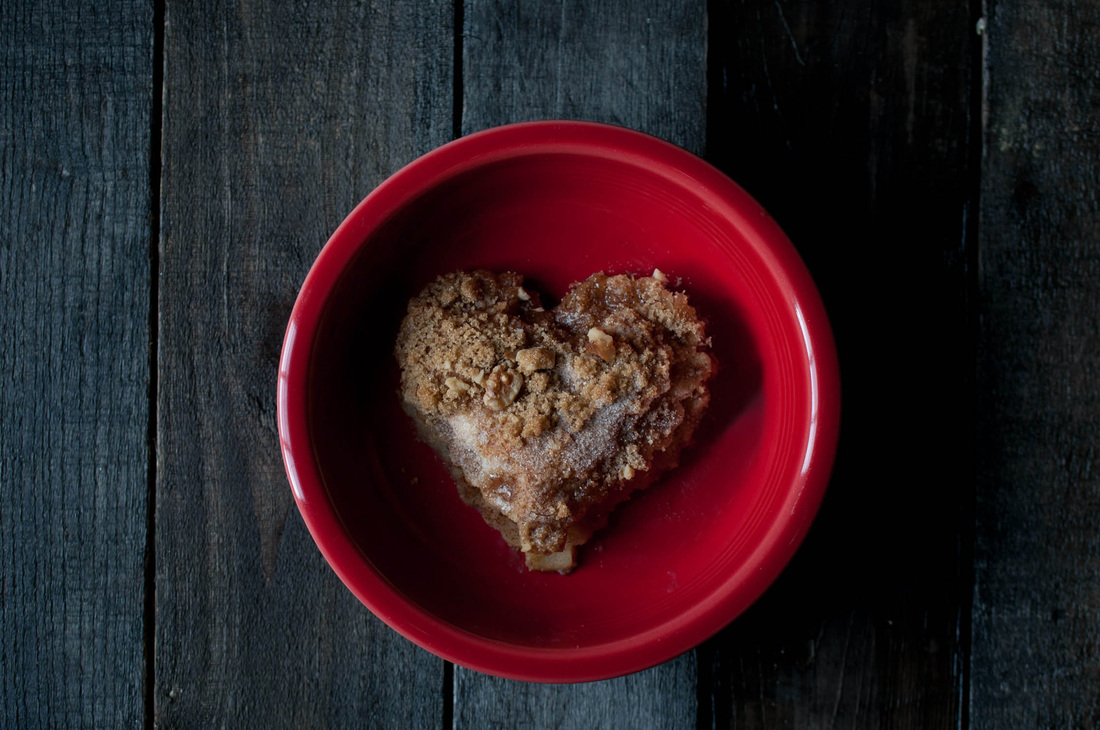 Supplies: Heart-shaped cookie cutters (large and a small), bowl, wooden spoon, 10x10 glass pan
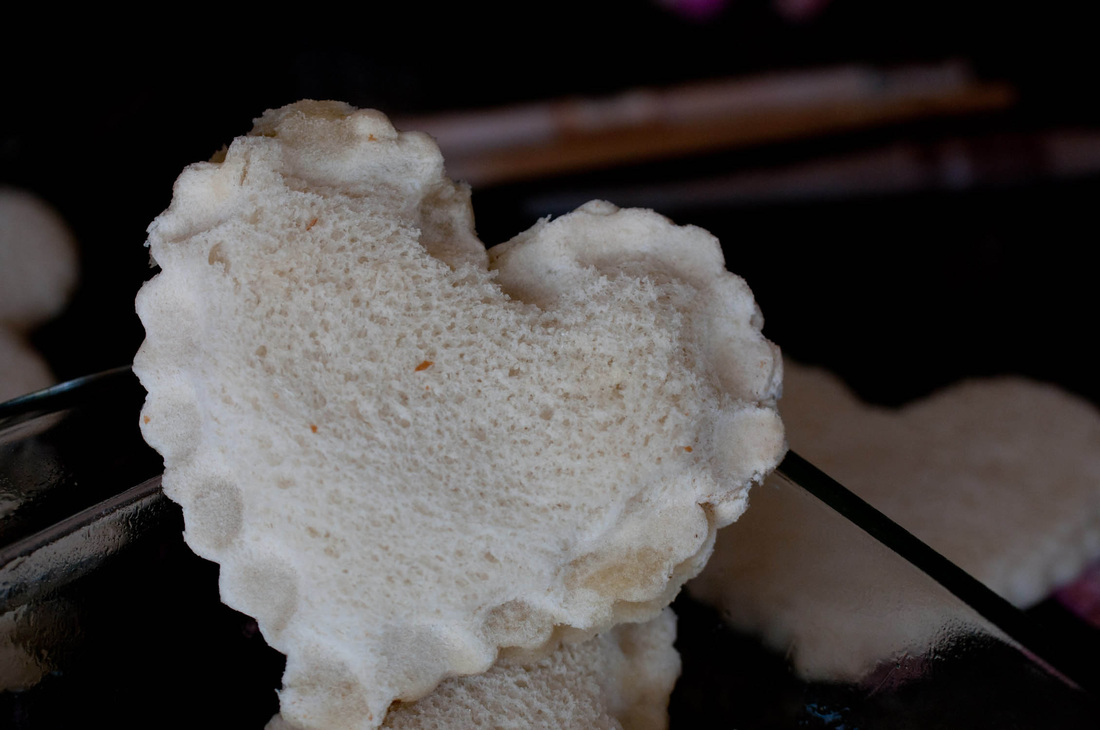
1 loaf of Klosterman White Bread, cooking spray, cinnamon, butter, sugar, vanilla, milk, eggs, walnuts, brown sugar Pre-heat oven to 350 degrees 1. Cut out 10 pieces of bread with the large heart-shaped cutter and 6 pieces of bread with the small heart-shaped cutter and set aside. Melt or soften 1 stick of butter (1/2 cup), and combine 1/2 cup of sugar with 1 t. cinnamon. Take two of the heart pieces and put butter and cinnamon-sugar mixture on both sides and pinch the bread closed as pictured top left. Spray bottom of 10x10 glass pan with cooking spray and artfully arrange your cute heart-shaped cinnamon sugar sandwiches. Suggestion: four large hearts on the bottom and one large heart on the top; add in the three small hearts randomly. You will have the remainder bread from your cut outs so you can freeze this for good use later. 2. In a medium-sized bowl thoroughly combine three eggs, 3/4 c. of milk, 1/2 c. sugar, 1 t. vanilla extract, and 1 t. cinnamon. 3. Pour the liquid mixture over the heart-shaped sandwiches and set aside. Combine 1/4 - 1/2 c. walnuts with 1/2 c. packed brown sugar, and drizzle on the very top of the bread/liquid mixture. 4. Place the pan in the oven and bake at 350 degrees for approximately 25 minutes. After you take the cooked bread out, you can add ice cream, or a little bit of milk. Mmmmmmmmm.
1 Comment
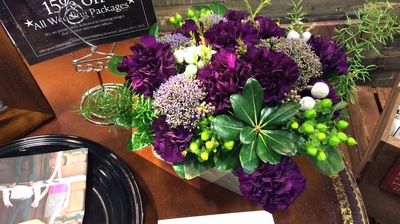
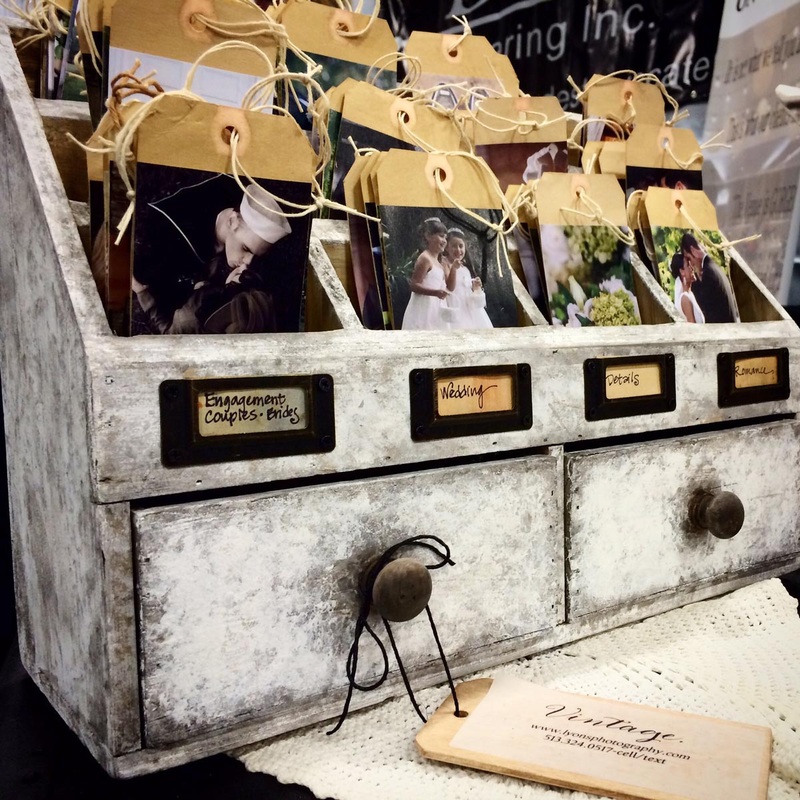
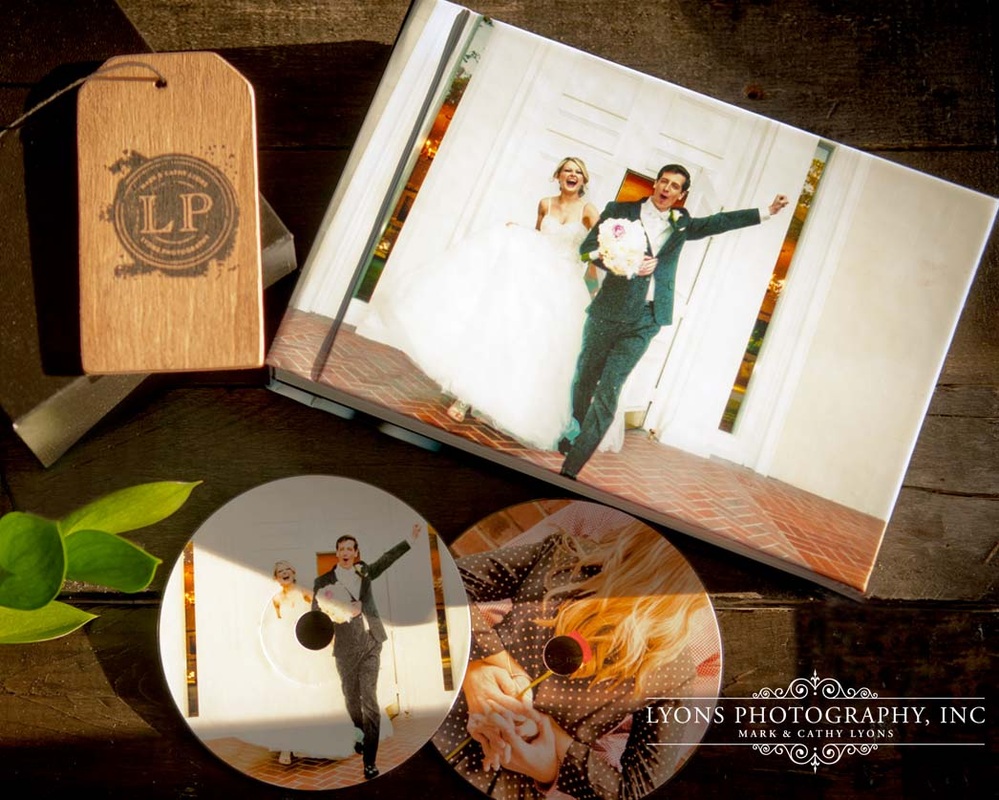
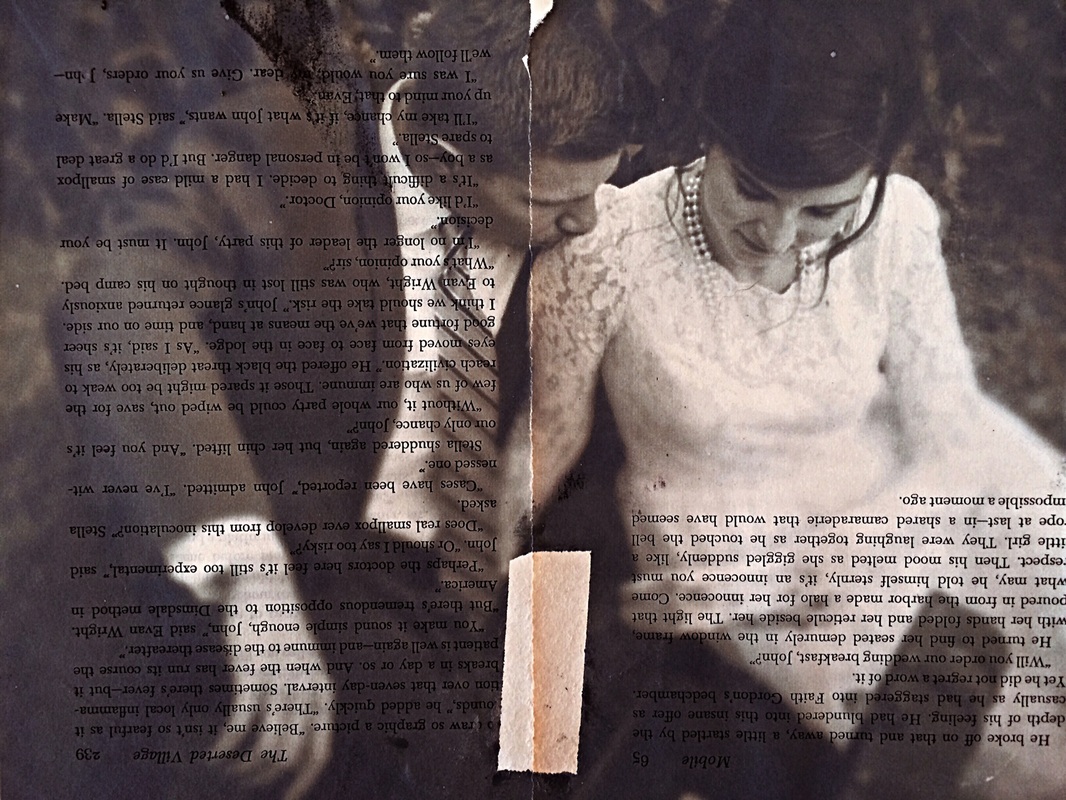
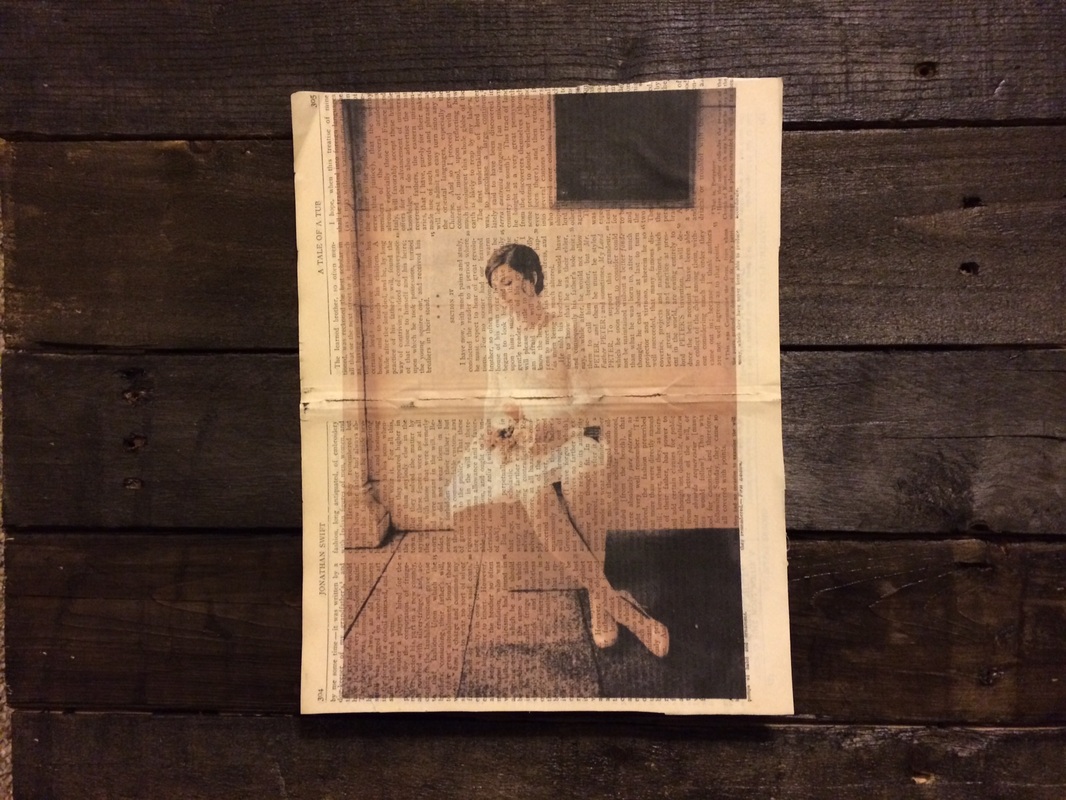
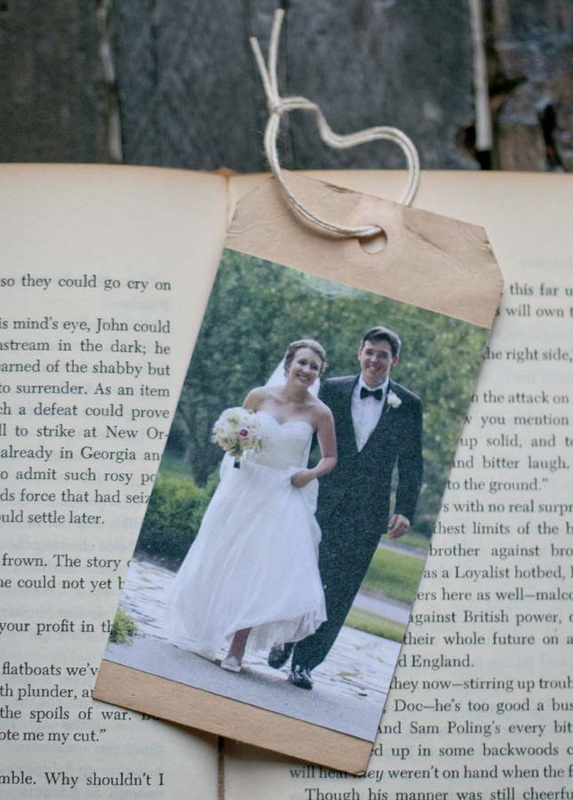
It's the Little Things When we meet with couples over coffee for a wedding consultation, it is understandably a bit difficult to bring all the handmade items of thephotomakery so I am hoping the above images highlight those details, and what was featured in our booth at the #CincinnatiWeddingShowcase. Everything on display from the canvases on our pallet display wall to the small photo tags (pictured in the center) to the silk photo pillow and the images printed on vintage book pages were created using the images that we have photographed at weddings. The application of those images on fabric, paper craft, canvas or traditional images blends our love for photography and creating unique gifts. Additionally, we make photo cards, and photo transfers on wood and metal.
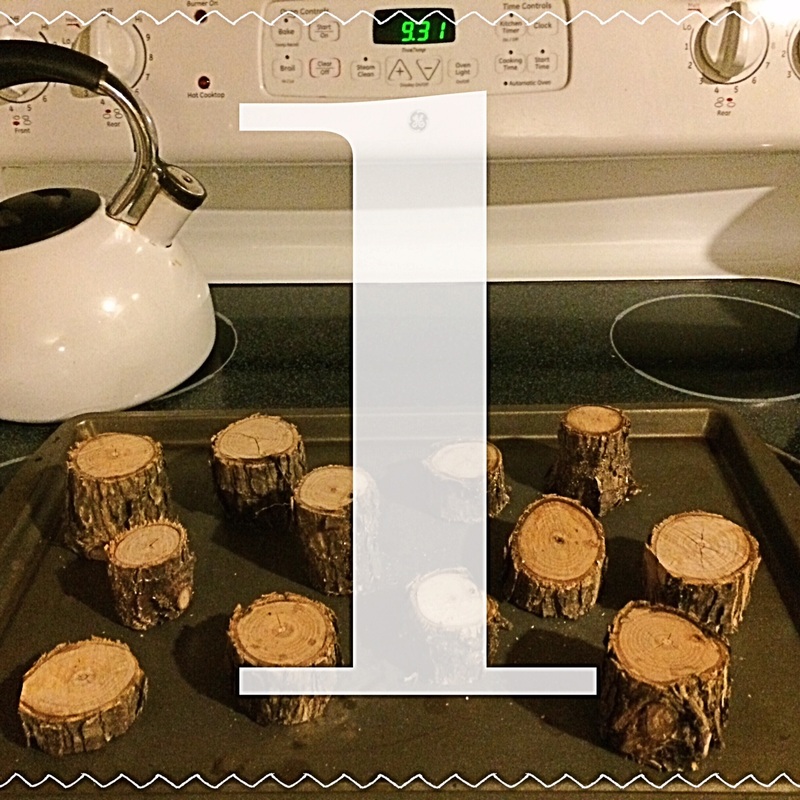
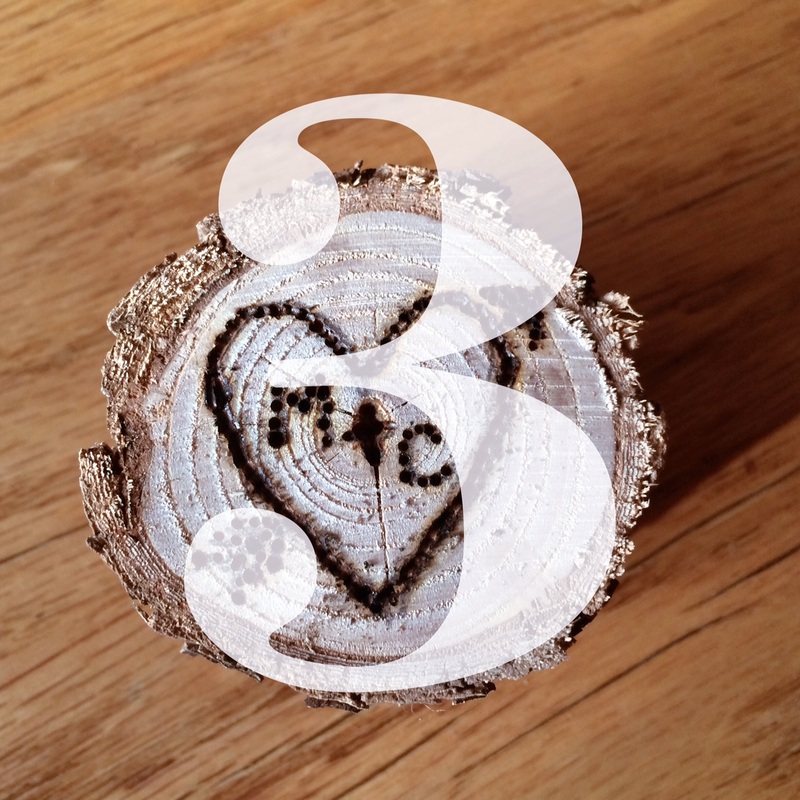
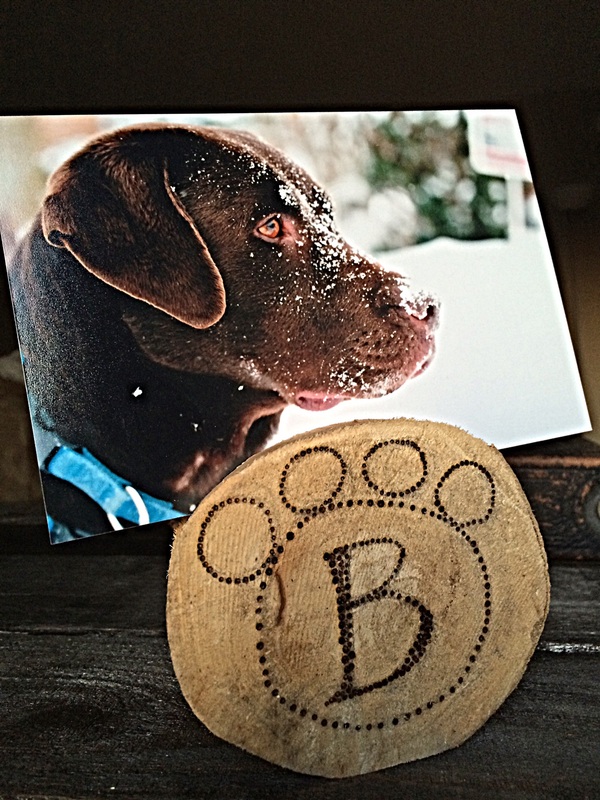
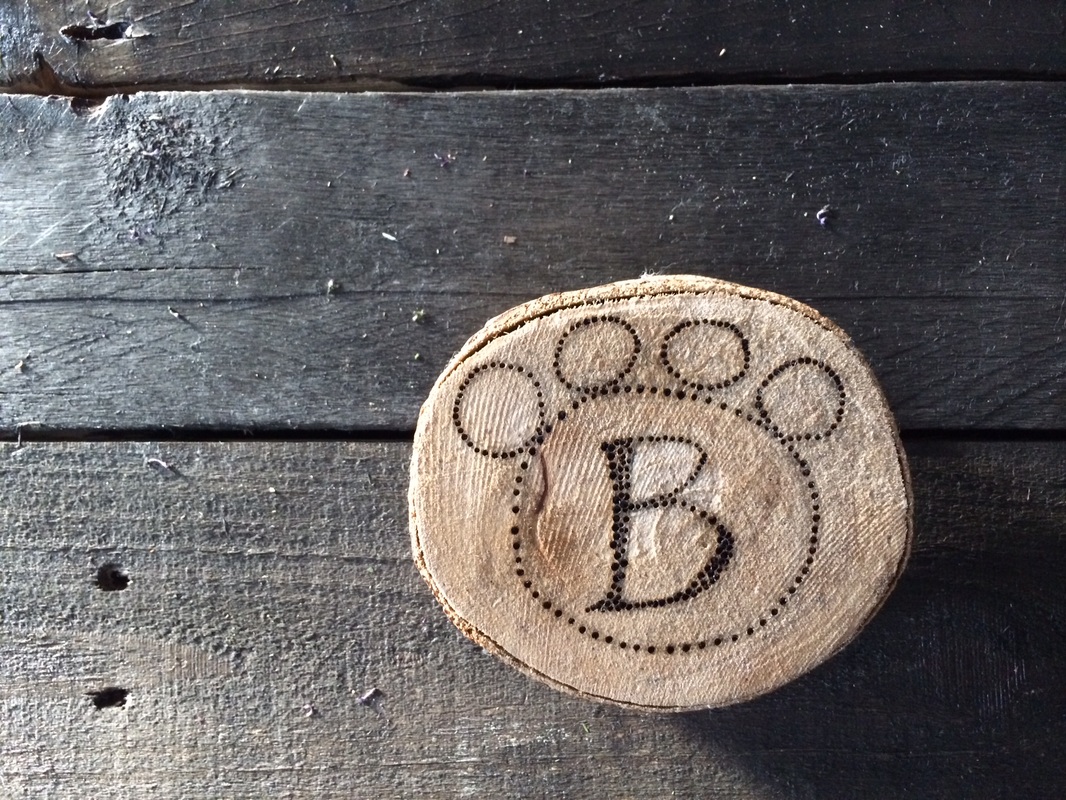
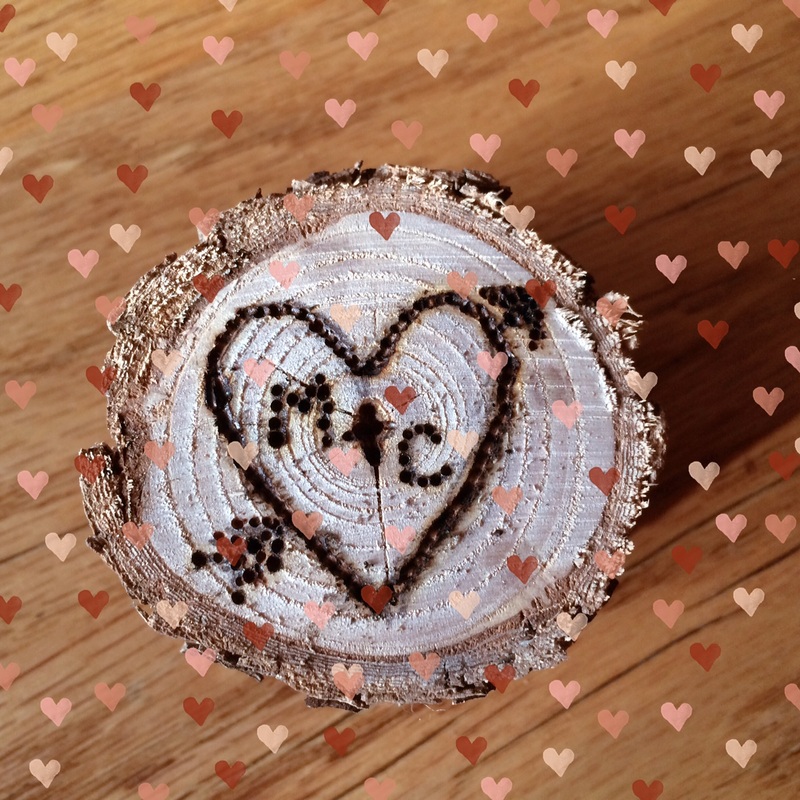
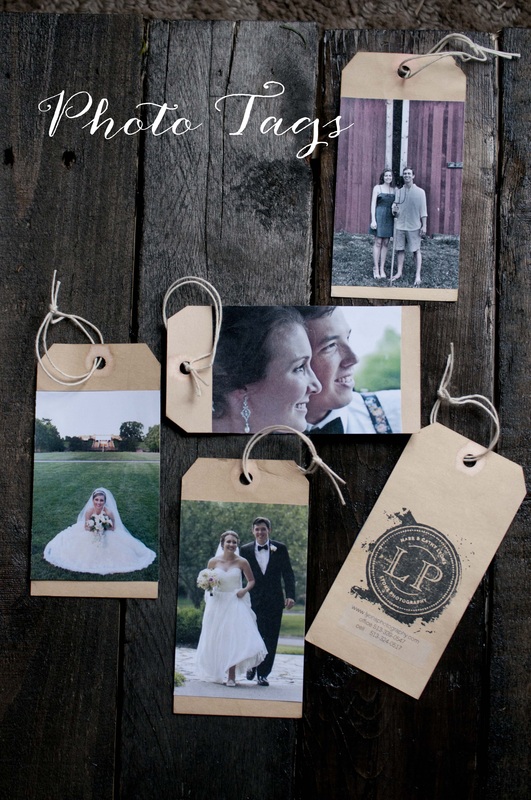
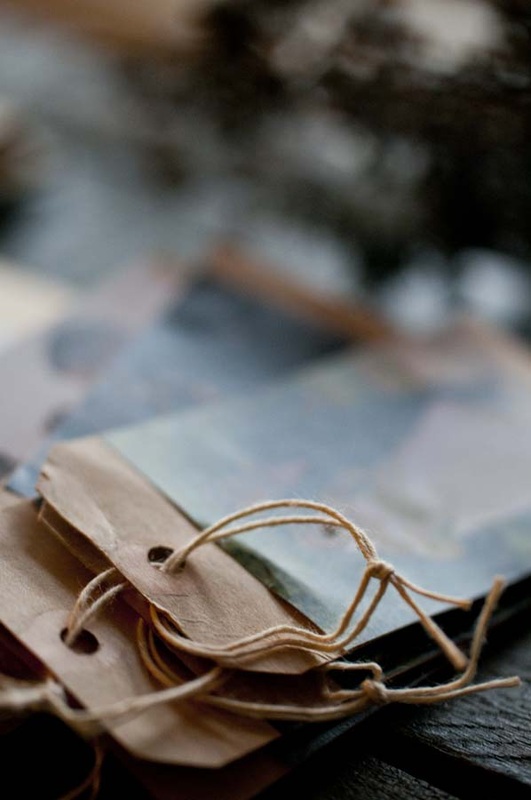
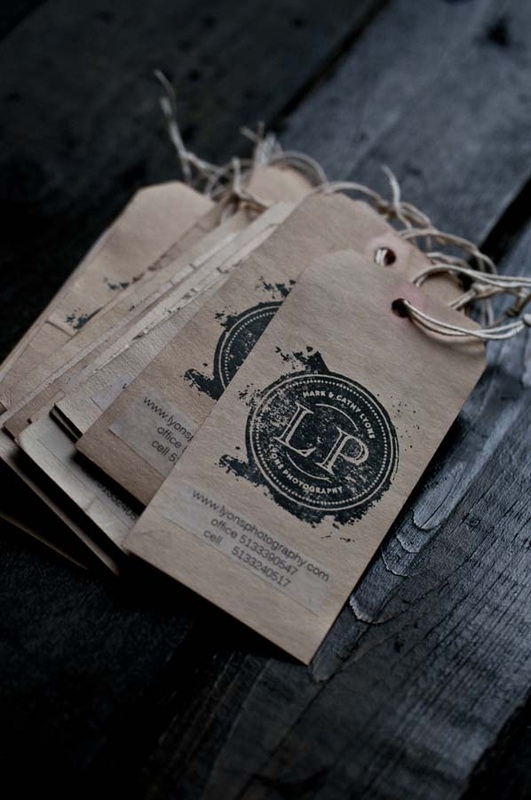
We treat our customers using The Golden Rule as we would want others to treat us. Let us know if there is a creative, handmade photomakery detail you would like to see. We can be reached via e-mail: [email protected]. Valentine's Day has got to be one of my favorite holidays ever because it celebrates love which is what God is...God is love. To make this #DIYPHOTOHOLDER, you just need a little time and patience (also required for love), and a few supplies: a medium size branch, a power mitre saw or table saw or hand saw, a hobby wood burner, pencil, cookie sheet. 1. My husband cut a fairly thick branch into small mini logs; he varied the sizes so I could play. I highly recommend experimenting with size & the wood burning technique. The wood was wet so I put the freshly cut logs onto an inexpensive cookie sheet, and baked them at 200 degrees for 1 hour. I stayed in the kitchen and did other things while the logs baked. And yes, they came out dry! 2. The next day, I practiced with my wood burning tool called a Hobby Woodburner (my husband ran out and got it for me at Harbor Freight for about $10---did I mention how truly caring he is?). First, I drew with pencil on the wood, and then I selected a "wood burning nib" to start burning my heart of my initial drawing. It was a little tricky at first because a) the wood is textured with rings and b) somewhat uneven for drawing & burning. My solution was to burn several small holes close together. See the picture on the left at the bottom. I literally held the wood burning tool straight up and down which allowed me to focus on the placement and the size of each hole. This is where the patience part comes in and I took some breaks so that my wood burning would be as neat as possible. Coffee is always a plus. 3. Next, I worked carefully to cut a 1/4" groove in the top of the log with a handsaw. This is key because you want the photo to set in there both easily and snug. 4. Speaking of the photo, I used a 4x6 matte finish print that I mounted onto red card stock with spray mount so it would be stiff. Here are the results below...I couldn't resist doing one of our dog, Bear, as well. He's the mascot for Weddings by Lyons Photography, and our best bud. These photo tags were a big hit at our recent wedding photography booth at Cincinnati Wedding Showcase. I wanted to share how you could use this for a #DIY as part of your wedding as they would make adorable place cards for a rehearsal or reception dinner. I tea-stained manilla tags which I purchased from Staples. As they were drying overnight, I took my 2.5 in. x 3.5 in. images & in Photoshop put them on an 11"x14" canvas, and had them printed out as color 11"x17"copies as I wanted plenty of room for a thick bleed. I trimmed the color copies and attached the images to the tags with archival adhesive. The finishing details were to tie off the string at the top, remove the reinforcement circle, and stamp the back with our logo. The results were fun. Wouldn't this would be cute with the bride & groom's image, or engagement pix on one side and their new address on the other? Welcome to The Photo Makery. This is the place where you can come for creative # DIY inspiration. |
Cathy Lyons
Walking Pantone chart. Christian, fabric designer in my dreams, coffee addict, dog lover. Musician. Photographer not on tv, but in real life. Archives
May 2020
|


 RSS Feed